Clothing Care
How to Pack Linen Shirts to Reduce Wrinkles
Fold or roll, layer, and unpack linen shirts so they arrive needing only a quick hang and steam — honest packing steps, since linen always creases a little.
Suede care guide
A shower on the walk home is not the end of a pair of suede shoes, but what you do in the first few hours decides how they look afterwards. The routine is short: check the maker's advice, dry slowly away from heat, and brush only once fully dry.
Begin hereHow-to
After light rain, check the suede shoe maker's care advice, gently blot excess moisture and let the shoes dry away from direct heat. Use clean, non-marking support if recommended. Only brush once the material is fully dry and with a suitable tool. Persistent marks or stiffness are reasons to ask a specialist rather than repeatedly wet the shoe.
Light rain leaves suede damp and flattened; saturation leaves it wet through, pooling if you tip the shoe. Confirm the uppers are actually suede or nubuck rather than a smooth or treated leather, because the next steps are suede-specific — the material name on the box, the maker's product page or the care label is the reliable check. If the shoes are soaked rather than damp, or the pair is suede-lined or heavily treated, the maker's advice or a specialist should lead instead of a general routine.
A day on the radiator — or a blast with the hairdryer — dries suede fast with no harm done.
Direct heat is the fastest way to stiffen, shrink or crack suede as the leather beneath dries too quickly, and that damage does not reverse. Drying is measured by the suede's state — cool, dry through, evenly coloured — not by a fixed number of hours or a heat source.
How long drying takes depends on the shoe, the weather and the air around it, so judge the material rather than the calendar. The targets are simple: the suede feels dry through, it is the same colour all over, and nothing is still cool or dark at the seams. A damp shoe worn again too soon tends to crease along the flex points and keep those creases.
Brush choice is not one-size-fits-all: makers and care-product labels specify which brush types suit their suede finishes, so take the tool recommendation from the shoe maker's advice or a named care product rather than assuming any single bristle material is universal. Brush once the suede is fully dry, in short gentle strokes in one direction, going back over stubborn flat spots to raise the nap. Protectant sprays belong before the rain, not after — spraying a wet shoe traps moisture — and any spray is only as suitable as its own label says, so check what materials it names and follow its safety instructions.
Where this fits
The parent guide to caring for the rest of the wardrobe.
Finding and reading the care information that shapes the checks on this page.
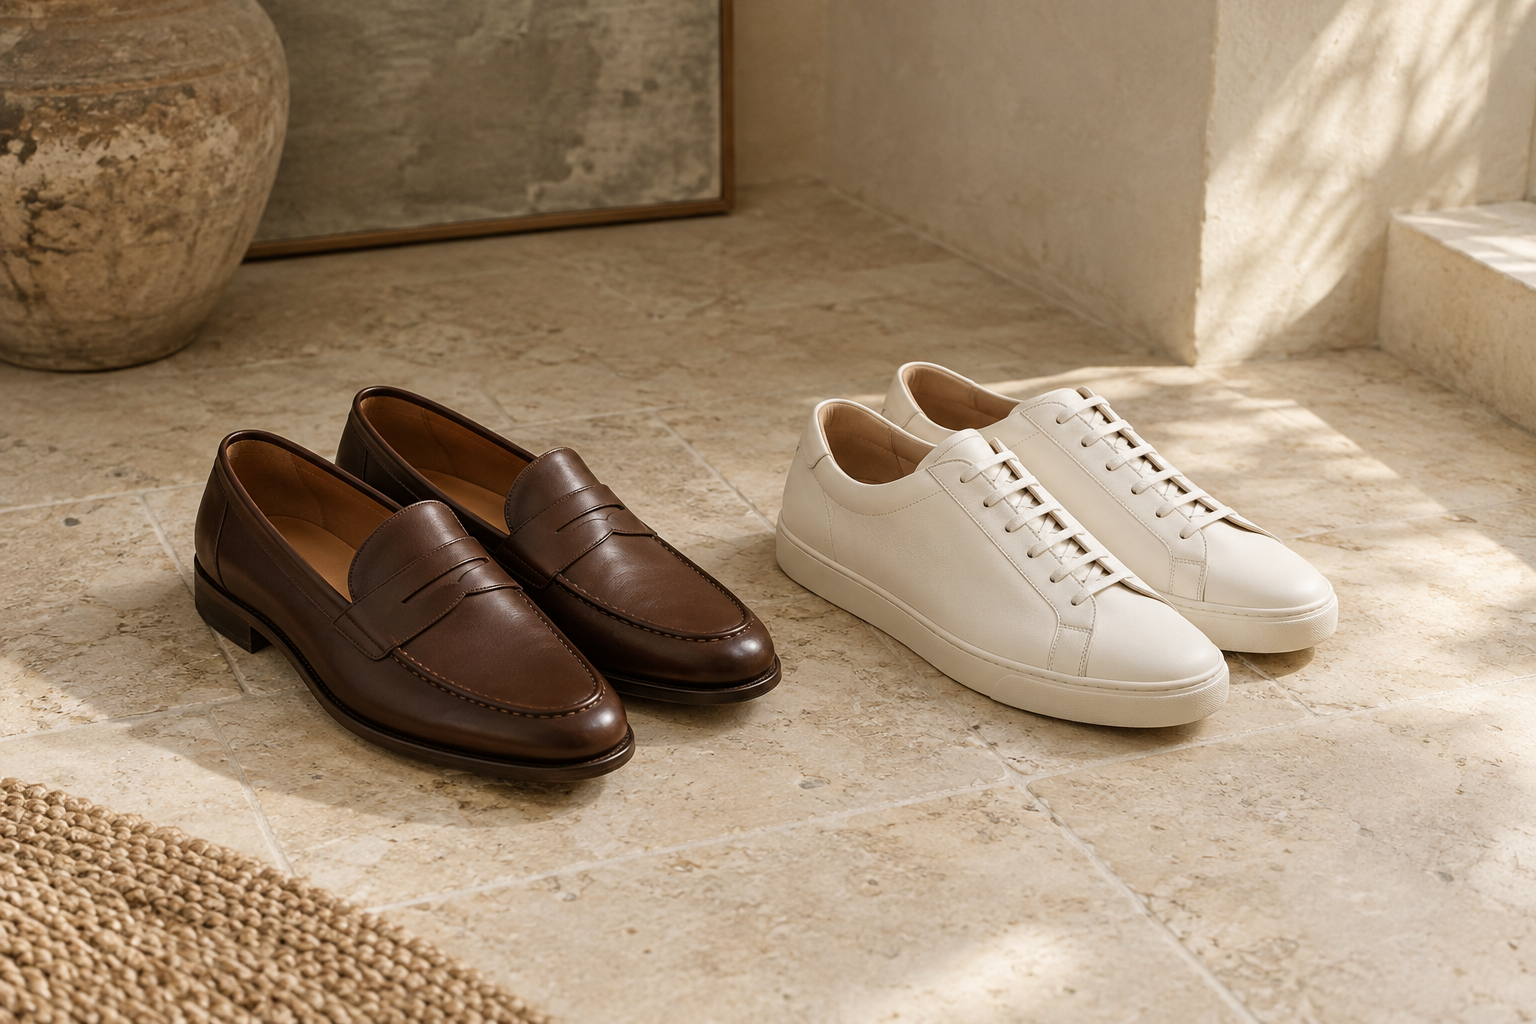
A suede-friendly silhouette worth keeping in good condition.
A pair of rain-dampened suede shoes dried slowly and safely, nap brushed back once fully dry with a suitable tool — and a clear sense of which marks and stiffness belong with a suede specialist rather than more home treatment.
Confirm from the box, label or maker's page that the uppers are suede, and read any care guidance the maker provides before treating them. Tip the shoes: damp suede from light rain is darkened and flattened, while anything pooling water is saturated and needs blotting first. The maker's advice outranks any general routine if the two ever differ.
Check: You can say what material the uppers are and point to the maker's care guidance, or note that none was provided — which is itself a reason to be conservative.
Blot surface moisture gently with a clean, dry cloth — pressing, not rubbing, so the nap is not worked while wet. Support the shoes so they hold their shape while drying: shoe trees, or loosely tucked clean unprinted paper, changed if it becomes damp through. Printed newspaper is the material to avoid, because ink can transfer into damp suede.
Check: The shoes are blotted, supported so they keep their shape, and nothing printed or coloured is touching the damp suede.
Leave the shoes in an airy spot at room temperature, away from radiators, heaters, hairdryers and direct sun. There is no fixed recovery window — judge by the material instead. The suede is ready when it feels dry through, reads one even colour, and nothing is cool or dark at the toe seams.
Check: The suede is dry through and even in colour, no heat source was used at any point, and you have not worn the shoes since they got wet.
Water presses the nap flat, so dried shoes often look smooth, shiny in patches or slightly stiff. Brush with a tool the maker's guidance or a suede care product's label supports — suede-specific brushes name the finishes they suit — using short, gentle strokes in one consistent direction first. Go back over stubborn flat spots against the grain to raise them, and stop brushing once the surface reads even.
Check: The whole shoe reads as one even, matte surface, and running a finger against the nap leaves a visible track that settles back.
Faint unevenness sometimes settles with careful brushing alone, but rings, pale salt lines or stiffened patches that survive it are not home projects — repeated wetting to chase them usually spreads the mark or hardens the leather. A suede cleaner or cobbler can assess residue the home routine cannot reach and advise on stiffness before it becomes cracking. Protectant, if you use one, is for clean, fully dry shoes before wear, applied strictly per the product's own compatibility and safety instructions.
Check: You can name any remaining problem — a ring, a salt line, stiffness — and have decided it is either liveable or worth a specialist, rather than reaching for water again.
Stiffness usually means the leather dried too fast or was flexed while damp, hardening along the crease lines. Gentle brushing over a few sessions sometimes eases the surface, but there is no guaranteed home fix. If the shoe creaks, cracks or stays stiff at the flex point, a cobbler should assess it before the damage sets further.
This is usually a salt or mineral line left as the water evaporated, common where rain mixed with gritted pavements or roadside spray. Do not scrub it or keep dampening the area — deep salt marks can involve the dye itself, and repeated home attempts often spread the residue. A suede cleaner or cobbler has the products to lift salt marks and can tell you whether the dye is affected.
Uneven darkening usually means that panel absorbed more water and dried at a different rate. Let the shoe dry completely and brush the whole shoe in one direction so the surface reads as one; a mild difference often fades as the moisture equalises. If a clear patch persists once the shoe is fully dry, stop there — repeatedly wetting the shoe to even out colour widens the problem, and professional assessment is the sensible next step.
Clothing Care
Fold or roll, layer, and unpack linen shirts so they arrive needing only a quick hang and steam — honest packing steps, since linen always creases a little.
Clothing Care
How to read clothing care labels: the five symbol families, what dots, bars and letters add, and what to do when the label is missing or says do not wash — including when to hand the garment to a cleaner or ask the maker.
Clothing Care
White sneakers only read smart when they read clean. How to identify the upper from maker information, use the approved method for leather, canvas and knit, treat midsoles separately, and air-dry without warping or yellowing.