Skip to content

Find your next good read.

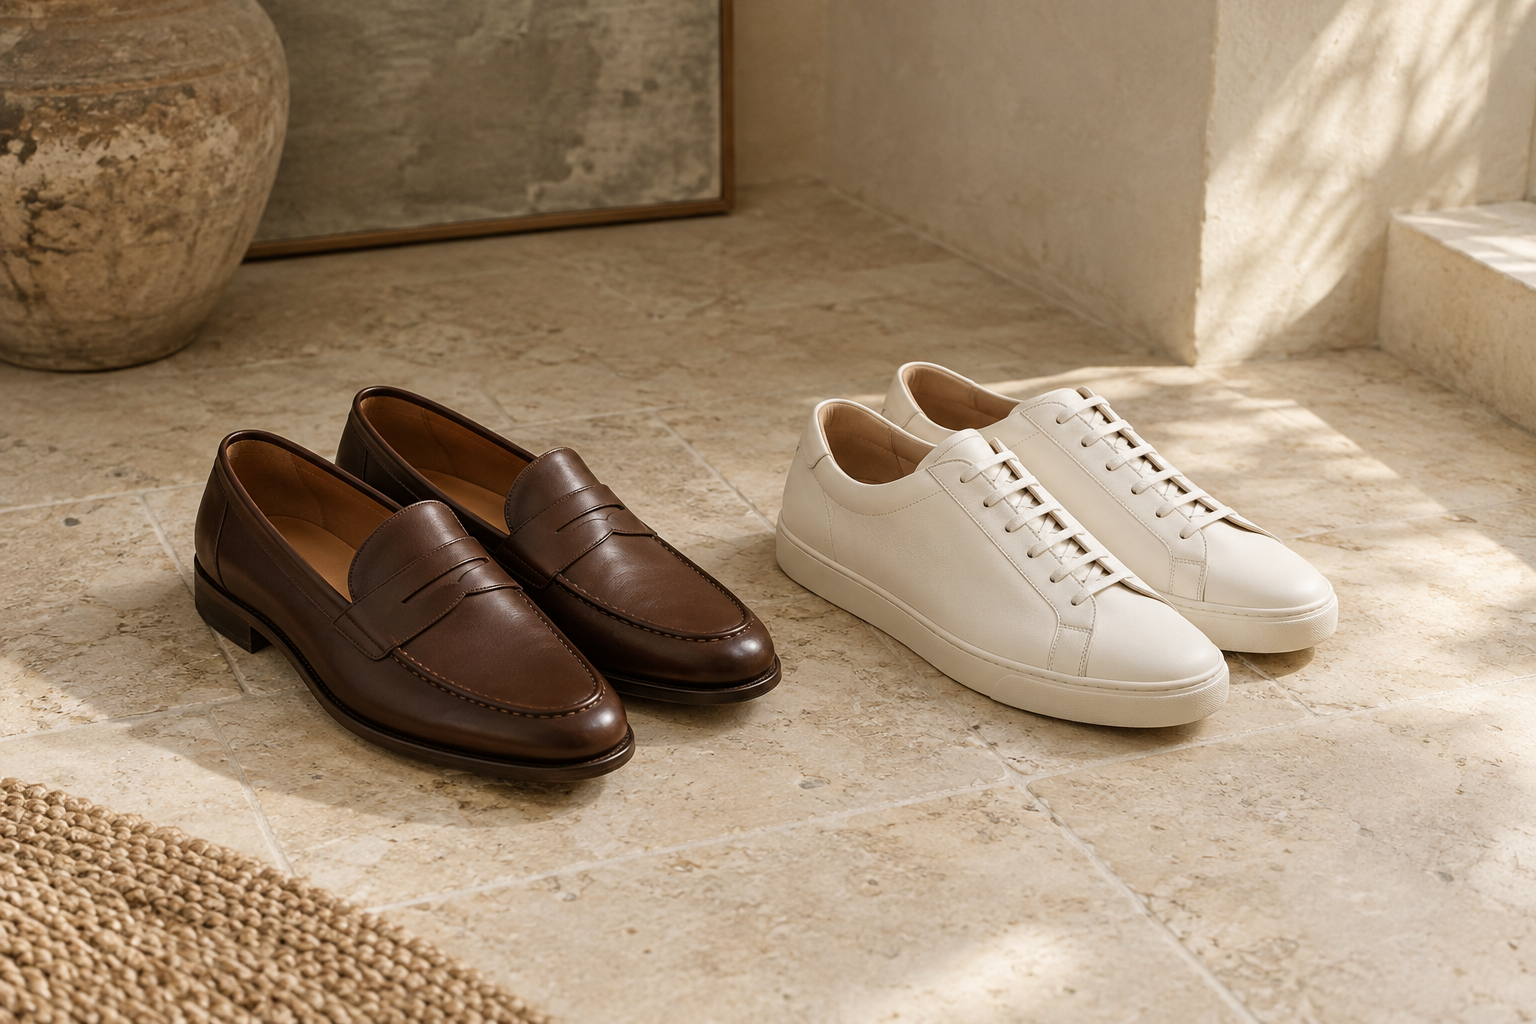
Brown penny loafers and cream leather sneakers side by side on a pale stone floor.

Sneaker care guide

How to Clean White Sneakers for Smart Casual Wear

White sneakers carry a smart casual outfit only while they look deliberate — a scuffed midsole or grey upper undoes the whole line. The routine below starts with the maker's instructions for the upper, sole and any coatings, because the safe method depends on what the shoe is made of.

Begin here

How-to

Clean white sneakers by the maker's method, not by habit

Clean white sneakers according to the maker's instructions for the upper, sole and any coatings. Remove loose dirt first, then use the approved method without soaking parts that should stay dry. Some discoloration is wear or material change, so a whiter result is not guaranteed.

Match the method to the upper — check your pair's care page before relying on any row
UpperWhat tolerates itWhat damages it
Leather or coated syntheticDry brush, then a damp cloth or mild soapy solution; leather conditioner afterwards is optionalSoaking, hard scrubbing, machine washing and dryer heat
CanvasMild dye-free detergent in warm water with gentle circular brushingBleach, which weakens fibres and can leave yellow patches
Engineered knit or meshA mild soapy solution and light dabbing along the knit directionHarsh chemicals, aggressive scrubbing and heat, which can warp or fuzz the fibres
Myth

A baking-soda paste, toothpaste or bleach will whiten any white sneaker.

Fact

Household recipes are not universally safe. Nike's own guide permits a baking-soda paste only for white and light-coloured shoes and warns that concentrated dish soap can discolour materials; New Balance recommends a mild, dye-free detergent instead. Bleach is the one both treat as a last resort or avoid, because it weakens fibres and can yellow them.

What you will finish with.

You can identify what your white sneakers are made of from maker information, apply the cleaning method approved for that upper, treat the midsole separately, and dry the pair safely — while recognising which discoloration cleaning can and cannot fix.

Have these ready.

  • The maker's care information: the tag inside the tongue or the brand's product-care page. Where the tag and the surface disagree, the tag wins.
  • A soft-bristled brush — a clean, spare toothbrush is Nike's own suggested substitute — plus a clean cloth and lukewarm water.
  • A mild, dye-free detergent or a cleaner labelled safe for your upper's material. Anything else waits until it has been spot-tested on a hidden area.

One step at a time.

  1. Identify the upper from maker information, not surface appearance

    All-white finishes hide material differences, so start with the tongue tag or the brand's care page rather than a guess. Smooth, pebbled or slightly shiny surfaces are usually leather or a coated synthetic; woven cotton that darkens evenly when damp is canvas; stretchy, ribbed, sock-like uppers are engineered knit. Treating a knit like canvas — or a coated synthetic like canvas — is how uppers get wrecked mid-clean, so name the material before any liquid is involved.

    Check: You can name the upper material and any coating, and a tag or the brand's care page confirms it.

  2. Remove laces and insoles — only where they are designed to come out

    If the laces and insoles lift out easily, remove them, because both trap the grime that keeps a cleaned shoe looking tired and neither dries well inside. Nike's guide hand-washes laces in the cleaning solution and air-dries insoles completely before they go back, replacing them if odour persists. Fixed or glued-in components stay in place and get only a surface wipe — pulling at them risks tearing adhesives the maker never intended you to disturb.

    Check: Every removable part is out drying separately, and nothing fixed has been forced loose.

  3. Brush off loose dirt before any liquid

    Dry brushing first is Nike's opening step for good reason: grit that turns to mud in water grinds into fibres and stitching. Work a dry, soft-bristled brush over the outsole, midsole and upper, getting into seams and the outsole grooves where grit collects. This alone often removes the grey film that reads as 'dirty', and it lets the wet clean focus on actual stains.

    Check: A dry pass over the shoe picks up no further grit, and seams and outsole grooves are clear.

  4. Spot-test, clean the matched way, then remove all residue

    Test the solution on a hidden area first and stop at the first sign of colour lift, darkening or fuzzing — that is the method being wrong, not you being gentle enough. Clean with the matched method from the table above: light circles and low pressure on leather, gentle circular brushing on canvas, dabbing along the knit on mesh. Then wipe the whole shoe with a clean damp cloth, because soap residue dries as dull patches and attracts the next layer of dirt.

    Check: The hidden-area test showed no reaction, no visible grime remains, and a final damp wipe comes away clean.

  5. Treat the midsole as a separate job

    The foam or rubber midsole is a different material with different limits, so it gets its own pass with its own brush. The maker-approved options are the same mild solution worked along the midsole line, or — for white and light pairs only, per Nike's guide — a baking-soda paste left briefly before a firm but controlled scrub. Keep every paste on the foam: hold the brush angle against the midsole so nothing abrasive crosses onto leather, canvas or knit.

    Check: The midsole reads visibly cleaner, with scuffs lifted, and no paste or residue has crossed onto the upper.

  6. Air-dry away from heat, then judge what is left

    Stuff the shoes loosely with plain white paper or a towel to hold shape, and let them dry at room temperature in moving air — New Balance allows a full 24 hours before wear. Dryer heat can deform shoes and warp foam, and long direct sun can yellow some synthetics, so neither radiator nor windowsill is the right spot. Once fully dry, distinguish what remains: dirt you missed, or permanent age and oxidation, which may only lighten and is a case for a cobbler or specialist cleaner rather than more scrubbing.

    Check: After a full day at room temperature the shoes are dry inside and out, kept their shape, and you can say what any remaining discoloration is.

Check your result.

If it is not working yet.

The sneakers yellowed after cleaning

Yellowing after a clean usually traces to residue left in the material, or to drying too fast in heat or strong sun. Wipe the upper again with a clean, barely damp cloth to draw out leftover product, re-stuff with plain paper, and repeat the slow shade dry. If the yellow sits in the foam midsole rather than the upper, it is often oxidation from age or storage, which cleaning can lighten but not reverse — a sneaker-cleaning specialist is the honest next step.

A stain will not lift from the upper

Identify the culprit before escalating, because the maker-approved treatment depends on it: leather takes a leather-safe cleaner, while canvas and knit take repeated gentle passes rather than force. Resist bleach — both maker guides treat it as a fibre-weakening risk that can leave a worse yellow patch than the stain. If two gentle attempts have failed, more pressure is likelier to damage the upper than to lift the mark; a stain product labelled for that material, spot-tested first, is the ceiling of home treatment.

One shoe cleans up whiter than the other

Wear is rarely symmetrical: most people scuff one side more, and sun through a window fades a parked pair unevenly. Re-clean both shoes in the same session with the same solution so any difference is not just residue, then compare them in daylight rather than under warm indoor light. A true remaining difference is accumulated wear, which even professional cleaning only partially evens out — rotating two pairs is what prevents it recurring.

Keep exploring.