
Shirts & Tops
How an Untucked Shirt Should Fit
A practical fit guide for untucked shirts: hem length, shoulder seam, sleeve length and room to move, with simple checks for each.
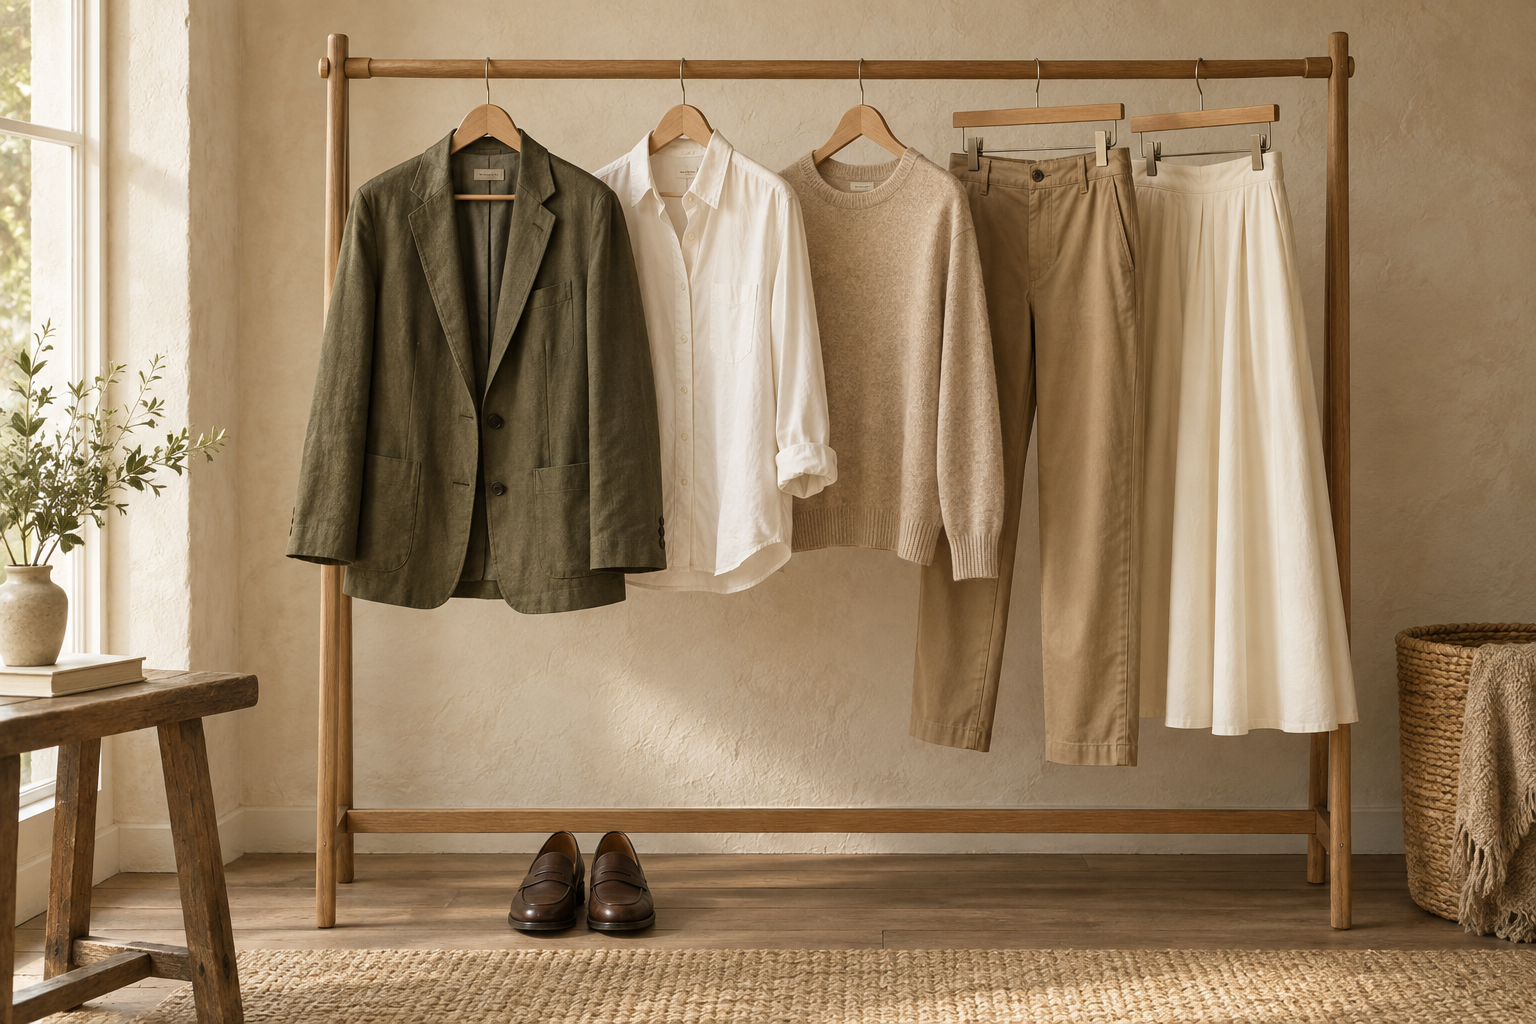
Layering guide
A shirt under a sweater works when the layers are tested together and move as one. Smooth the shirt first, add the sweater, then judge collar, sleeves and hem in motion before deciding anything needs changing.
Begin hereHow-to
To wear a shirt under a sweater, test the two garments together rather than choosing each separately. Smooth the shirt first, put on the sweater, then check the collar, sleeves and hem while moving. If the combination feels tight, try a different cut or lighter layer instead of forcing it flat.
A shirt under a sweater only looks right if a measured amount of cuff — usually half an inch to an inch — shows at the wrist.
Cuff exposure is a style preference, not a fit standard. A visible cuff, a buried cuff and a collarless shirt that shows nothing at all can each look deliberate. What actually fails is functional: sleeves that bind when you bend, or a cuff that vanishes because the sweater sleeve drags it inside.
| Arrangement | Works best when | Watch for |
|---|---|---|
| Shirt tucked, sweater over the waistband | Sweater hem reaches the hip, so it covers the waistband through movement | Billowing at the waist if the shirt is oversized in the body |
| Shirt untucked, hem showing below the sweater | The shirt hem is short and even, and the sweater hem sits above it | A long, uneven shirt hem flapping below the knit — reads accidental |
| Shirt hem just visible at the front only | Sweater is cropped and the shirt is deliberately part of the look | Riding up at the back when you sit or reach |
Related reads
Check the knit on its own before testing it as a layer.
The same layering logic one layer further out.
A shirt and sweater that have been tested together — collar sitting the way you chose it, sleeves moving freely, hem staying put through reach and sitting — with a clear diagnosis for whichever junction misbehaves if one does.
Press the shirt and check it fits on its own: no strain across the chest, no excess billow at the waist. Then check the sweater solo against its own fit markers. A layer cannot fix a fault either garment already has — it magnifies it.
Check: Worn separately, each garment passes its own basic fit check, and the shirt is a smooth, closely woven fabric that presses flat.
With a crew neck, the practical options are a collar tucked fully inside the sweater or hidden entirely — a collarless or buttoned-down shirt works well here. With a v-neck, quarter-zip or open collar, the collar can sit outside the knit, where a button-down collar holds its points reliably. Any of these can look deliberate; what reads as a fault is a collar bent half under the knit edge or sitting asymmetrically.
Check: In the mirror from the front, the collar is fully outside the neckline, fully inside it, or absent — with no points trapped under the knit edge.
Button the shirt cuffs, ease the sweater sleeve up your forearm and let it settle back over the shirt sleeve so the layers rest without binding. Bend your elbows fully and reach forward as if driving. Some gathering at the forearm is normal knit behaviour; a sleeve that stays knotted or drags the shirt sleeve up with it means the layers are gripping.
Check: After a few full bends, the sweater sleeve falls back on its own and the shirt sleeve beneath has not wound into a bunch at the elbow.
Tucked is the dependable default: it adds no bulk at the visible hem and works under any sweater length, provided the shirt is slim enough not to billow. Untucked can work with a shorter, even shirt hem under a sweater that ends above it. Hold the sweater's hem against the shirt's before dressing, and pick the arrangement the two lengths actually support.
Check: Whichever arrangement you chose, the hem looks even at the sides and back, not just at the front.
If something feels wrong, name the junction before changing anything. Bulk at the neck usually means a collar construction too soft to sit flat under a knit edge; cuff bunching usually means the sweater sleeve is short or narrow and dragging the shirt; restriction across the chest means the combined layers are too heavy or one garment is too close-fitting. Each has a different fix, so resist resizing the whole outfit for one symptom.
Check: You can point to the single junction that misbehaves — neck, cuff or chest — and describe when it misbehaves, which is what the next step fixes.
Sit down for a full minute, then stand, reach overhead and turn your head both ways. Sitting is where hems ride and chests bind; standing checks hide it. If the same junction fails after one honest adjustment attempt, change a garment — a slimmer shirt, a lighter fabric or a longer sweater fixes what rearranging cannot, and no tucking technique rescues a combination that is simply too much layer.
Check: After the full movement set, the collar is still where you put it, the sleeves move freely, and the hem still sits where it started.
Bunching means either the shirt is oversized in the body, so excess fabric has nowhere to go when tucked, or the sweater grips the shirt instead of sliding over it. Fix the first with a slimmer shirt or a tuck that distributes fabric evenly around the waistband. For the second, pull the sweater fully down over the shirt at the hips — and if a fine knit still rides on a heavy shirt, the weights are mismatched and a lighter shirt is the honest fix.
A collar that migrates usually lacks structure — soft unlined collars collapse under a knit edge. Choose a shirt with a firm or lined collar, or one whose buttons anchor the points. If you want the collar out under a v-neck, a button-down collar is the reliable choice, because its buttons hold the points outside the knit.
This usually means the sweater sleeve is cut short or narrow, so it drags the shirt sleeve inside when you move. Ease the shirt sleeve forward before pulling the knit over it so the layers settle with the cuff where you want it. If the cuff still vanishes every time you bend your arm, the sweater sleeve is genuinely short — that is a sweater-fit fault, and no arrangement fixes a knit that ends above the wrist bone.
Two layers that pass standing can bind together seated or after a meal. Try the lighter of your shirts under the same sweater and retest. If the sweater alone is close across the chest, the combination is not the problem — the sweater fit is, and a half-size up in the knit is the durable answer.
Shirts & Tops
A practical fit guide for untucked shirts: hem length, shoulder seam, sleeve length and room to move, with simple checks for each.
Shirts & Tops
How to test a white shirt for opacity before and after buying: weave density, fabric weight, weave types, underlayers, fit, and the daylight window test.
Shirts & Tops
How an overshirt should fit: identify the intended cut, layer over your real base layer, then check placket tension, reach, cuffs and hem while sitting and bending before comparing sizes.